If you’re playing retro consoles on a modern TV, you’ve probably noticed the picture doesn’t quite match what you remember. That’s not your TV’s fault. Modern displays weren’t designed for 240p signals, and when they try to upscale on their own, the results tend to be soft, stretched, and a little laggy. The Morph 4K from Pixel FX is built to bridge that gap. It takes the signal from your retro consoles and upscales it cleanly to 4K, with proper scanline filters, aspect ratio control, and low latency, so your games look the way they should on whatever display you’re using today.
Pixel FX built a reputation making HDMI mod kits for retro consoles like the Retro G.E.M., so they understand what quality retro video output looks like. The Morph 4K is their answer to the question of what happens after the signal leaves the console. I’ve had mine for a while now and have run a lot of systems through it. Here’s everything you need to know to get started.
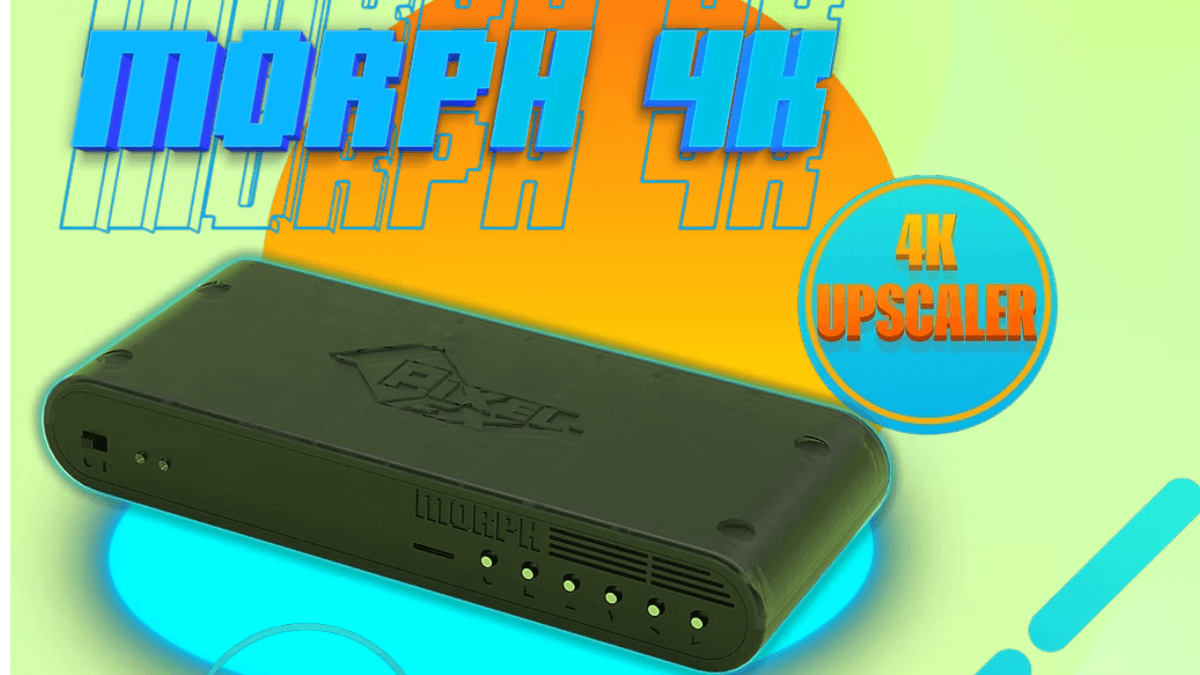
What You’re Getting
The Morph 4K base unit runs $275 and is an HDMI-only device out of the box. That’s the key thing to understand up front. It ships with the unit itself, a USB-C power cable, and an HDMI output cable for your TV. The base unit has one HDMI input, one HDMI output, a USB-A port for accessories, and a front microSD slot for firmware and presets. If your consoles already have HDMI mod kits installed (like Pixel FX’s own Retro G.E.M.) or you’re running FPGA systems like MiSTer or Analogue hardware, the base unit is all you need.
If you want to connect consoles using analog video (component, RGB, S-Video, or composite), you’ll need the Analog Bridge add-on, which runs $100 and installs inside the unit. The Analog Bridge comes with one swappable connector card that adds the physical ports to the back panel. There are three card options: SCART plus component, VGA plus component, and dual VGA. Extra cards run $30 each. For most North American setups, the component card is the one you want.
Before your Morph 4K arrives, think about which consoles you’re connecting first and what video output they support. If you’re newer to this side of retro collecting, our beginner’s guide to retro collecting covers video output basics in more detail and is worth reading before you start sourcing cables.
Initial Setup
Connecting to Your TV
The output side is simple. Run an HDMI cable from the Morph 4K to your TV and set the TV to Game Mode. Game Mode reduces your TV’s internal processing, which is important because the Morph 4K is doing the heavy lifting. You want the TV to display the signal, not reinterpret it.
If your TV supports 4K HDR input, make sure the HDMI port you’re using has that enabled in your TV’s settings. Some TVs lock enhanced features to specific HDMI ports, and it’s easy to miss.
Connecting Your Console
On the input side, connect your console using the best video output that console supports. I’ll go deeper on which inputs to prioritize in the console section below, but the short answer is: HDMI from a modded console is the cleanest path, followed by component or RGB for analog, then S-Video, and composite as a starting point. The Morph 4K will work with all of them (analog inputs require the Analog Bridge), and the good news is that even with a basic connection, you’ll see a noticeable improvement over plugging straight into a modern TV. The cleaner your input signal, the better your results. A great upscaler works best when it has a great signal to start with.
First Boot and Firmware Updates
When you first power on the Morph 4K, the on-screen menu walks you through the basics. Before you do anything else, check the firmware version and update it if one is available. Pixel FX has been actively developing the Morph 4K’s firmware, and updates have added major features since launch. The update process involves loading firmware onto a microSD card and running it from the device menu. It’s not complicated, just don’t skip it.
Once you’re on current firmware, the initial configuration mostly involves telling the device what input you’re using and setting your output resolution. For most users with a modern 4K TV, you’ll set the output to 4K and work from there.
Key Features
4K Upscaling
The core job of the Morph 4K is taking low-resolution retro signals and scaling them up to 4K cleanly. The unit runs on an Efinix Trion T120 FPGA, and the results are sharp without the artificial smoothing that TV upscaling tends to add. Pixel art looks like pixel art. Sprites have clean edges. It’s the difference between your game looking intentional and looking like it got dragged through a filter.
Scanline Filters and Image Processing
This is where a lot of retro enthusiasts spend their time in the settings, and for good reason. The Morph 4K includes dynamic scanline filters with CRT beam simulation, high-resolution shadowmask and slotmask shaders rendered at full 4K, and smoothing filters like hqx and xbr. The level of control is serious. You can dial in the weight and appearance of the scanlines to match different CRT types. Some people use light scanlines for a subtle touch of authenticity. Others go heavy and it looks remarkably like a consumer Trinitron at a distance.
There are also additional image processing options for things like phosphor simulation, custom gamma tables, and brightness adjustments. I’ll be honest, this part of the menu is deep and you could spend hours in it. Start with a preset if one fits your console and adjust from there. The Morph 4K can actually auto-install a community preset library over WiFi, which is a great starting point.
Aspect Ratio Control
The Morph 4K gives you control over how the image fills your screen. You can run games at their original 4:3 aspect ratio with pillarboxing on the sides, stretch to fill the screen if that’s your preference, or use various integer scaling options. Most purists stay at 4:3 with integer scaling. It keeps pixels square and the image accurate. The device makes it easy to set this per console using the profile system.
HDR Support
The Morph 4K supports HDR output through a 12-bit processing pipeline, which on a capable TV can give retro games a surprising amount of visual pop. Whether you’ll love the HDR look on retro content is entirely personal. Some people find it too bright or punchy for older art styles. Others think it brings a vibrancy that makes games feel alive in a new way. It’s worth trying, and easy to turn off if it’s not for you.
Low Latency
Latency is where upscalers can quietly make or break the experience. If there’s too much processing delay between your controller input and what you see on screen, action games and platformers feel off in a way that’s hard to articulate but immediately noticeable. The Morph 4K offers two framelock modes: an ultra-low-lag sub-frame path and a fully buffered mode that adds up to one frame for things like 50-to-60 Hz conversion. There’s even a built-in self-test screen that reports measured latency per input. I haven’t noticed any input lag issues playing through it, including on games that are pretty unforgiving about timing. That said, your TV’s Game Mode being enabled is part of the equation, not just the Morph 4K itself.
Preset Auto-Loading
This is one of the Morph 4K’s standout features and it keeps getting better with firmware updates. The preset system auto-loads your saved settings based on context, matching on input type, resolution, and even Game-ID when you’re running a Retro G.E.M. modded console. That means the Morph can detect exactly which game is running and load the matching scanline and shader preset automatically. No menu diving, no manual switching. The system cascades from most-specific to least-specific, so you always get the best match available.
You can manage all your profiles through the built-in WebUI, which you access over WiFi from any browser. The WebUI handles profile import and export, live-preview slotmask editing, custom gamma table uploads, and even custom EDID configuration. Control options include HDMI CEC, an IR remote, the WebUI, Bluetooth, and USB serial for upcoming accessory integration.
Understanding Your Input Options
The Morph 4K delivers great results regardless of what you feed it, but your picture quality will scale with the quality of your video output. Here’s how the input types stack up.
HDMI from Modded or Digital Consoles (Best)
If your console has an HDMI mod kit installed, this is the cleanest possible path into the Morph 4K and the setup it was designed around. Pixel FX makes the Retro G.E.M. kits for N64, PS1, PS2, Dreamcast, GameCube, and 3DO, among others. There are also kits from other manufacturers like the DCDigital, GCVideo, and Xbox HD Stellar. Running a digitally modded console into the Morph 4K gives you a pure digital signal chain with access to all the scanline, shader, and processing features. This is also where the Game-ID preset auto-loading works best.
FPGA systems like MiSTer, Analogue Pocket, Mega SG, and Super NT also work great through HDMI. And if you’re running modern consoles that output at 1080p or below (like a docked Switch, Wii U, or Steam Deck), the Morph handles those too. One note: the Morph 4K cannot accept HDMI signals above 1080p60, so PS4, PS5, and current Xbox consoles would need to be routed around it.
Component Video and RGB (Excellent Analog Options)
For unmodded consoles, component video (YPbPr) and RGB are both excellent analog signal types that deliver sharp, clean results through the Morph 4K’s Analog Bridge. In terms of raw signal quality, they’re equals. The difference comes down to practicality and what’s available in your region.
For North American setups, component is the way to go. SCART was never adopted here, so nothing in a typical NA game room uses it natively. Component cables, on the other hand, use the same red, green, and blue RCA connectors that were standard on every HDTV sold in the US for over a decade. If you’re going the component route, HD Retrovision cables are the gold standard. They have an active RGB-to-YPbPr transcoder built right into the console-end plug, which means you’re getting RGB-quality video output over component connectors with no sync issues to worry about. They’re available for SNES, Genesis, PS2, Wii, and more, with adapter cables that extend Genesis cables to work with Saturn, PS1, Neo Geo, and other systems. They run about $60-70 per console cable and are available right here at CastleMania Games.
If you’re in Europe or already have a SCART setup, RGB via SCART works great with the Analog Bridge’s SCART connector card. Just be aware that SCART cable quality varies significantly by manufacturer, so invest in quality cables from a reputable source.
S-Video (Good)
S-Video is a meaningful step up from composite and a solid option for consoles that don’t have component or RGB available without modification, like the N64 in its stock North American configuration. The Morph 4K upscales S-Video inputs well through the Analog Bridge, and the results are surprisingly enjoyable. You’re not getting the sharpness of component or RGB, but you’re getting a clean enough signal that the upscaling does real work. Note that S-Video connects through the Analog Bridge’s main port via a breakout cable rather than a dedicated S-Video jack.
Composite (A Great Starting Point)
Composite is the yellow RCA cable that came packed in with most consoles, and for a lot of us, it’s what we grew up with. The Morph 4K will upscale composite through the Analog Bridge, and the results are noticeably better than plugging directly into a modern TV. Composite does carry more noise than other signal types, so you won’t get the same sharpness as component or RGB. But for consoles where composite is your only option right now, the Morph 4K still makes a real difference. And if you decide to upgrade your cables or add a mod kit later, the improvement stacks. That’s one of the great things about building your retro setup over time. Every upgrade compounds.
Morph 4K vs RetroTINK 4K
The RetroTINK 4K is the other major 4K upscaler for retro gaming, and it’s the most common comparison to the Morph 4K. The retro gaming community is fortunate to have two excellent options at this level. That said, they’re positioned differently.
The Morph 4K base unit runs $275 with HDMI input only. The RetroTINK 4K comes in two versions: the Community Edition at $475 and the Pro at $750. The RetroTINK includes all of its analog inputs built in with no add-ons required, while the Morph requires the $100 Analog Bridge for analog connections. Even with the Analog Bridge, a fully analog-capable Morph 4K at $375 is still $100 less than the RetroTINK 4K CE.
The RetroTINK 4K has been out longer and has a large established community around it, which means more community-created profiles and a deeper base of troubleshooting resources. The RetroTINK 4K Pro also has some exclusive features tied to its larger FPGA, including advanced motion-adaptive deinterlacing, inverse telecine, and TATE rotation for vertical shooters. The CE and Pro run identical firmware, and any feature that fits the CE’s hardware gets backported.
The Morph 4K comes from Pixel FX, who already have a deep footprint in the modding scene through their Retro G.E.M. HDMI kits. If you’re running modded consoles with Pixel FX hardware, the integration between the mod kit and the Morph is a real advantage. Features like Game-ID preset auto-loading work seamlessly across their ecosystem. The Morph has also been receiving consistent firmware updates that have added features like the WebUI, WiFi preset downloads, and expanded Game-ID support.
Both devices are excellent. If your setup is primarily HDMI-modded consoles and FPGA hardware, the Morph 4K at $275 is a fantastic value and integrates perfectly with that ecosystem. If you want all your analog inputs built in from day one and don’t mind the higher price, the RetroTINK 4K is a great choice. You’re making a solid decision either way.
Is It Worth It?
At $275 for the base unit, the Morph 4K is actually the most affordable entry point into premium 4K upscaling for retro games. That’s a meaningful shift from when it launched at $400. If you have HDMI-modded consoles or FPGA hardware, the base unit is all you need and it delivers an impressive picture.
If you’re running unmodded consoles with analog output, the Analog Bridge brings the total to $375, and you’ll want quality cables to match. A set of HD Retrovision component cables for your main consoles rounds out the analog side of the setup beautifully.
If you have one or two consoles you play casually and you’re not bothered by the slightly soft look of a modern TV’s built-in upscaling, a device like the RetroTINK 2X-SCART or similar in the $100-150 range handles 1080p output and makes a real improvement at a friendlier price point. Plenty of collectors are happy there, and that’s a perfectly solid setup. You can always move up later when the time is right.
For the collector who wants the best image quality available from retro hardware on a modern display and is ready to invest in it, the Morph 4K delivers. It’s a serious device for a hobby we love, and if that description fits you, it’s worth it. Take a look at your game room and think about whether your consoles are outputting HDMI or analog. That answer tells you whether the $275 base unit or the $375 analog bundle is the right starting point. Either way, once you see your favorite games running through it, you’ll understand why people are excited about this device.
Frequently Asked Questions
What cables do I need for the Morph 4K?
It depends on your consoles. If your consoles have HDMI mods or output HDMI natively, you just need an HDMI cable for the input (the Morph includes one for the output side). For analog consoles, you’ll need the Analog Bridge add-on ($100) plus the appropriate cables for your systems. For North American setups, HD Retrovision component cables are the recommended choice for consoles like SNES and Genesis. They deliver excellent quality with no fuss. Component cables for PS2, Xbox, and Wii are widely available too. S-Video and composite also work through the Analog Bridge via breakout cables.
Does the Morph 4K add input lag?
The Morph 4K is designed for low-latency output and includes a built-in self-test screen that measures and reports latency per input. It offers two framelock modes: an ultra-low-lag sub-frame path for the fastest response, and a buffered mode for situations like 50-to-60 Hz conversion. In practice, I haven’t noticed any lag during gameplay. For the best results, make sure your TV is set to Game Mode so the TV isn’t adding its own processing delay on top.
Can I use the Morph 4K with a CRT?
The Morph 4K outputs HDMI at 4K or 1080p, which a CRT cannot accept. If you’re playing on a CRT, you’re already getting an amazing picture. CRTs handle retro console signals natively and they look fantastic doing it. The Morph 4K is specifically a solution for bringing that same level of quality to modern TV setups. Pixel FX has announced an Analog-Digital Crosspoint module that would add analog output for downscaling to CRTs, but it’s not available yet.
What is the difference between the Morph 4K and the RetroTINK 4K?
The Morph 4K ($275 base, HDMI only) and RetroTINK 4K ($475 CE, $750 Pro) are both premium 4K upscalers, but they’re positioned differently. The Morph is digital-first and most affordable if your consoles already output HDMI. The RetroTINK includes all analog inputs built in with no add-ons. The Morph integrates tightly with Pixel FX’s Retro G.E.M. mod kits and has features like Game-ID preset auto-loading. The RetroTINK has a larger established community and the Pro model offers advanced features like inverse telecine and TATE rotation. Both are excellent devices with active firmware development. You’re in good hands with either one.
Do I need the Analog Bridge?
Only if you’re connecting consoles that output analog video (component, RGB, S-Video, or composite). If all your consoles have HDMI mod kits or you’re using FPGA systems like MiSTer or Analogue hardware, the $275 base unit with its HDMI input is all you need. If you have a mix of modded and unmodded consoles, the Analog Bridge ($100) adds analog support with swappable connector cards so you can run everything through one device.